
DIY Very Hungry Caterpillar Felt Book + Free Printable

I promised you a printable from Emmett's party, so here it is! If you're looking to make your own Very Hungry Caterpillar felt book, this printable is for you. I think this would make a perfect gift for a young child or a teacher. You could even enlarge all the pieces and use it in the classroom with a felt board. You can use any felt, but I like to use wool felt blends because the quality of the felt is higher and it comes in a wide variety of beautiful colors. I purchased mine here (if you sign up for their newsletter, you can get a discount code too).
Materials:
different colored felt
Very Hungry Caterpillar printout
scissors
pins
glue


Go ahead and cut out each object, leaving a generous amount of space around the outline. Next, pin it to the appropriate colored felt.

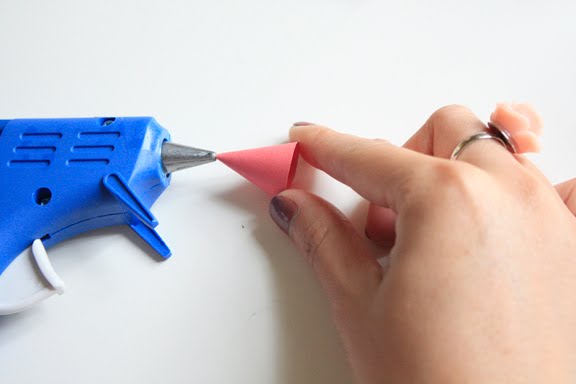
After that, simply cut out the felt pieces along the lines and then remove the pins and discard the paper. At this point, several of the pieces will already be done! A few of the more complicated pieces may need to be glued together, either with white glue, fabric glue, or a few dots of hot glue.
For the actual felt book, I bought some grey felt by the yard at the fabric store, and then cut them down to size. I sewed them down the middle to hold the pieces together, and that was it!
Here's a look at each of the pages:
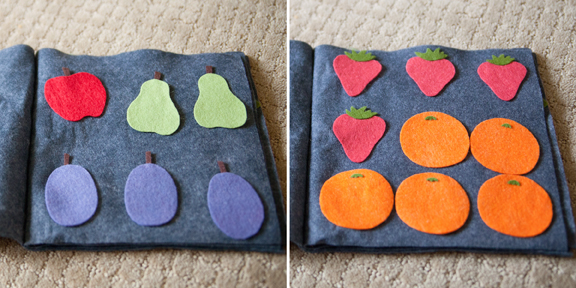
1 apple, 2 pears, 3 plums, 4 strawberries, and 5 oranges

cupcake, ice cream cone, pie, watermelon, lollipop, cake, cheese, salami, pickle, sausage

1 green leaf, the cocoon, and the final butterfly


Read more...


.jpg)




 Posts
Posts


